Have you ever been stuck in that part of time when you have chosen the perfect gift for your occasion, yet have no idea how to go about the wrapping? We all have had to start from being an ultimate beginner with wrapping gifts. From the ripping corners, to misplacements of tape, it can just never go right. Here at Printster, we have gathered together some useful tips and tricks on how to wrap your gifts to the extreme every time.
Get The Perfect Gift
To start from the very beginning, it’s best to make sure you have a great gift sorted for whoever the occasion is for. There is plenty of personalised gifts that you can choose from to create a thoughtful and valuable gift. Take our photo message mug as an example, alongside with our personalised photo coaster to match. Whether it be a birthday, anniversary or even Christmas – we can guarantee you can create a gift that will truly mean a lot to someone. On top of that, you can top it off with our amazing range of cards to suit your celebration.
Choose Your Wrapping Paper
Have you always been an avid user of the inexpensive, basic wrapping paper that you can get in your local supermarket? This year, you could make a bigger impression through using personalised wrapping paper that you can find at Printster. With options such as adding your loved one’s name or even a favourite memory in a photo, you can take gifting to that extra mile this year. Successful gift wrapping all depends on the thickness, and quality of the paper that you choose to work with. With our options, we guarantee a slick and elegant fold, due to the eco-friendly paper we provide. you don’t need to spend a lot to get this sort of effect, but the final result will be forever giving you results.
Depending on the occasion and who you are buying for, you may want to browse our collection to find fit for the perfect wrapping paper that will create the best reaction. If you are looking to impress your mum, or even your partner – we have categories like Mother’s day or Valentine’s day to help your process of finding something just that one step easier.
Birthday Wrapping Paper
 Colourful ‘Happy Birthday’ Photo Wrapping Paper Colourful ‘Happy Birthday’ Photo Wrapping Paper |
Christmas Wrapping Paper
 Christmas Reindeer & Photo Wrapping Paper Christmas Reindeer & Photo Wrapping Paper |
Congratulations Wrapping Paper
 Congratulations! Photo and Personalised Message Wrapping Paper Congratulations! Photo and Personalised Message Wrapping Paper |
Valentine’s Day Wrapping Paper
 Heart Pattern Wrapping Paper Heart Pattern Wrapping Paper |
What You’ll Need To Wrap The Present
- Large flat workspace for plenty of room
- The present (would be a good start!)
- Wrapping paper
- Sharp scissors
- Clear packing tape
- Plenty of time to not stress!
How To Wrap Like A Pro With 5 Simple Steps
- Cut your wrapping paper according to the size of your present. Place the wrapping paper face down, placing the gift on top. Make sure you place it far enough on the inside, so the end piece can fold over from the one side, all the way to the other side of the box (assuming you are using a box, it will be way easier and look heaps better!). Where the end piece joins the bottom of the other side, mark the inside with a pen or pencil gently in order to remember where to cut. Make sure to add 2cm or so for any extra room you may need upon folding.
- Cut from top to bottom in a straight, neat line where you placed the marking. You’ll be left with longer edges, so in order to create the perfect length for those – fold the edges up and cut them so they measure halfway against the side of the box.
- Wrap the main sides over the box so they meet in the middle, and tape them down so they stay in place. On the ends of the box, fold the top part over the side so it creases inside to sit against the box. Tape this part of the paper down against the box so it doesn’t become fiddly.
- Fold the left and right side on the inside to form triangles over the stuck on part. After, you will have the bottom part of the paper left to fold up smoothly, and then tape in place firmly. *for reference, use the picture below to get the same effect of the sides all joining together to look like triangles.
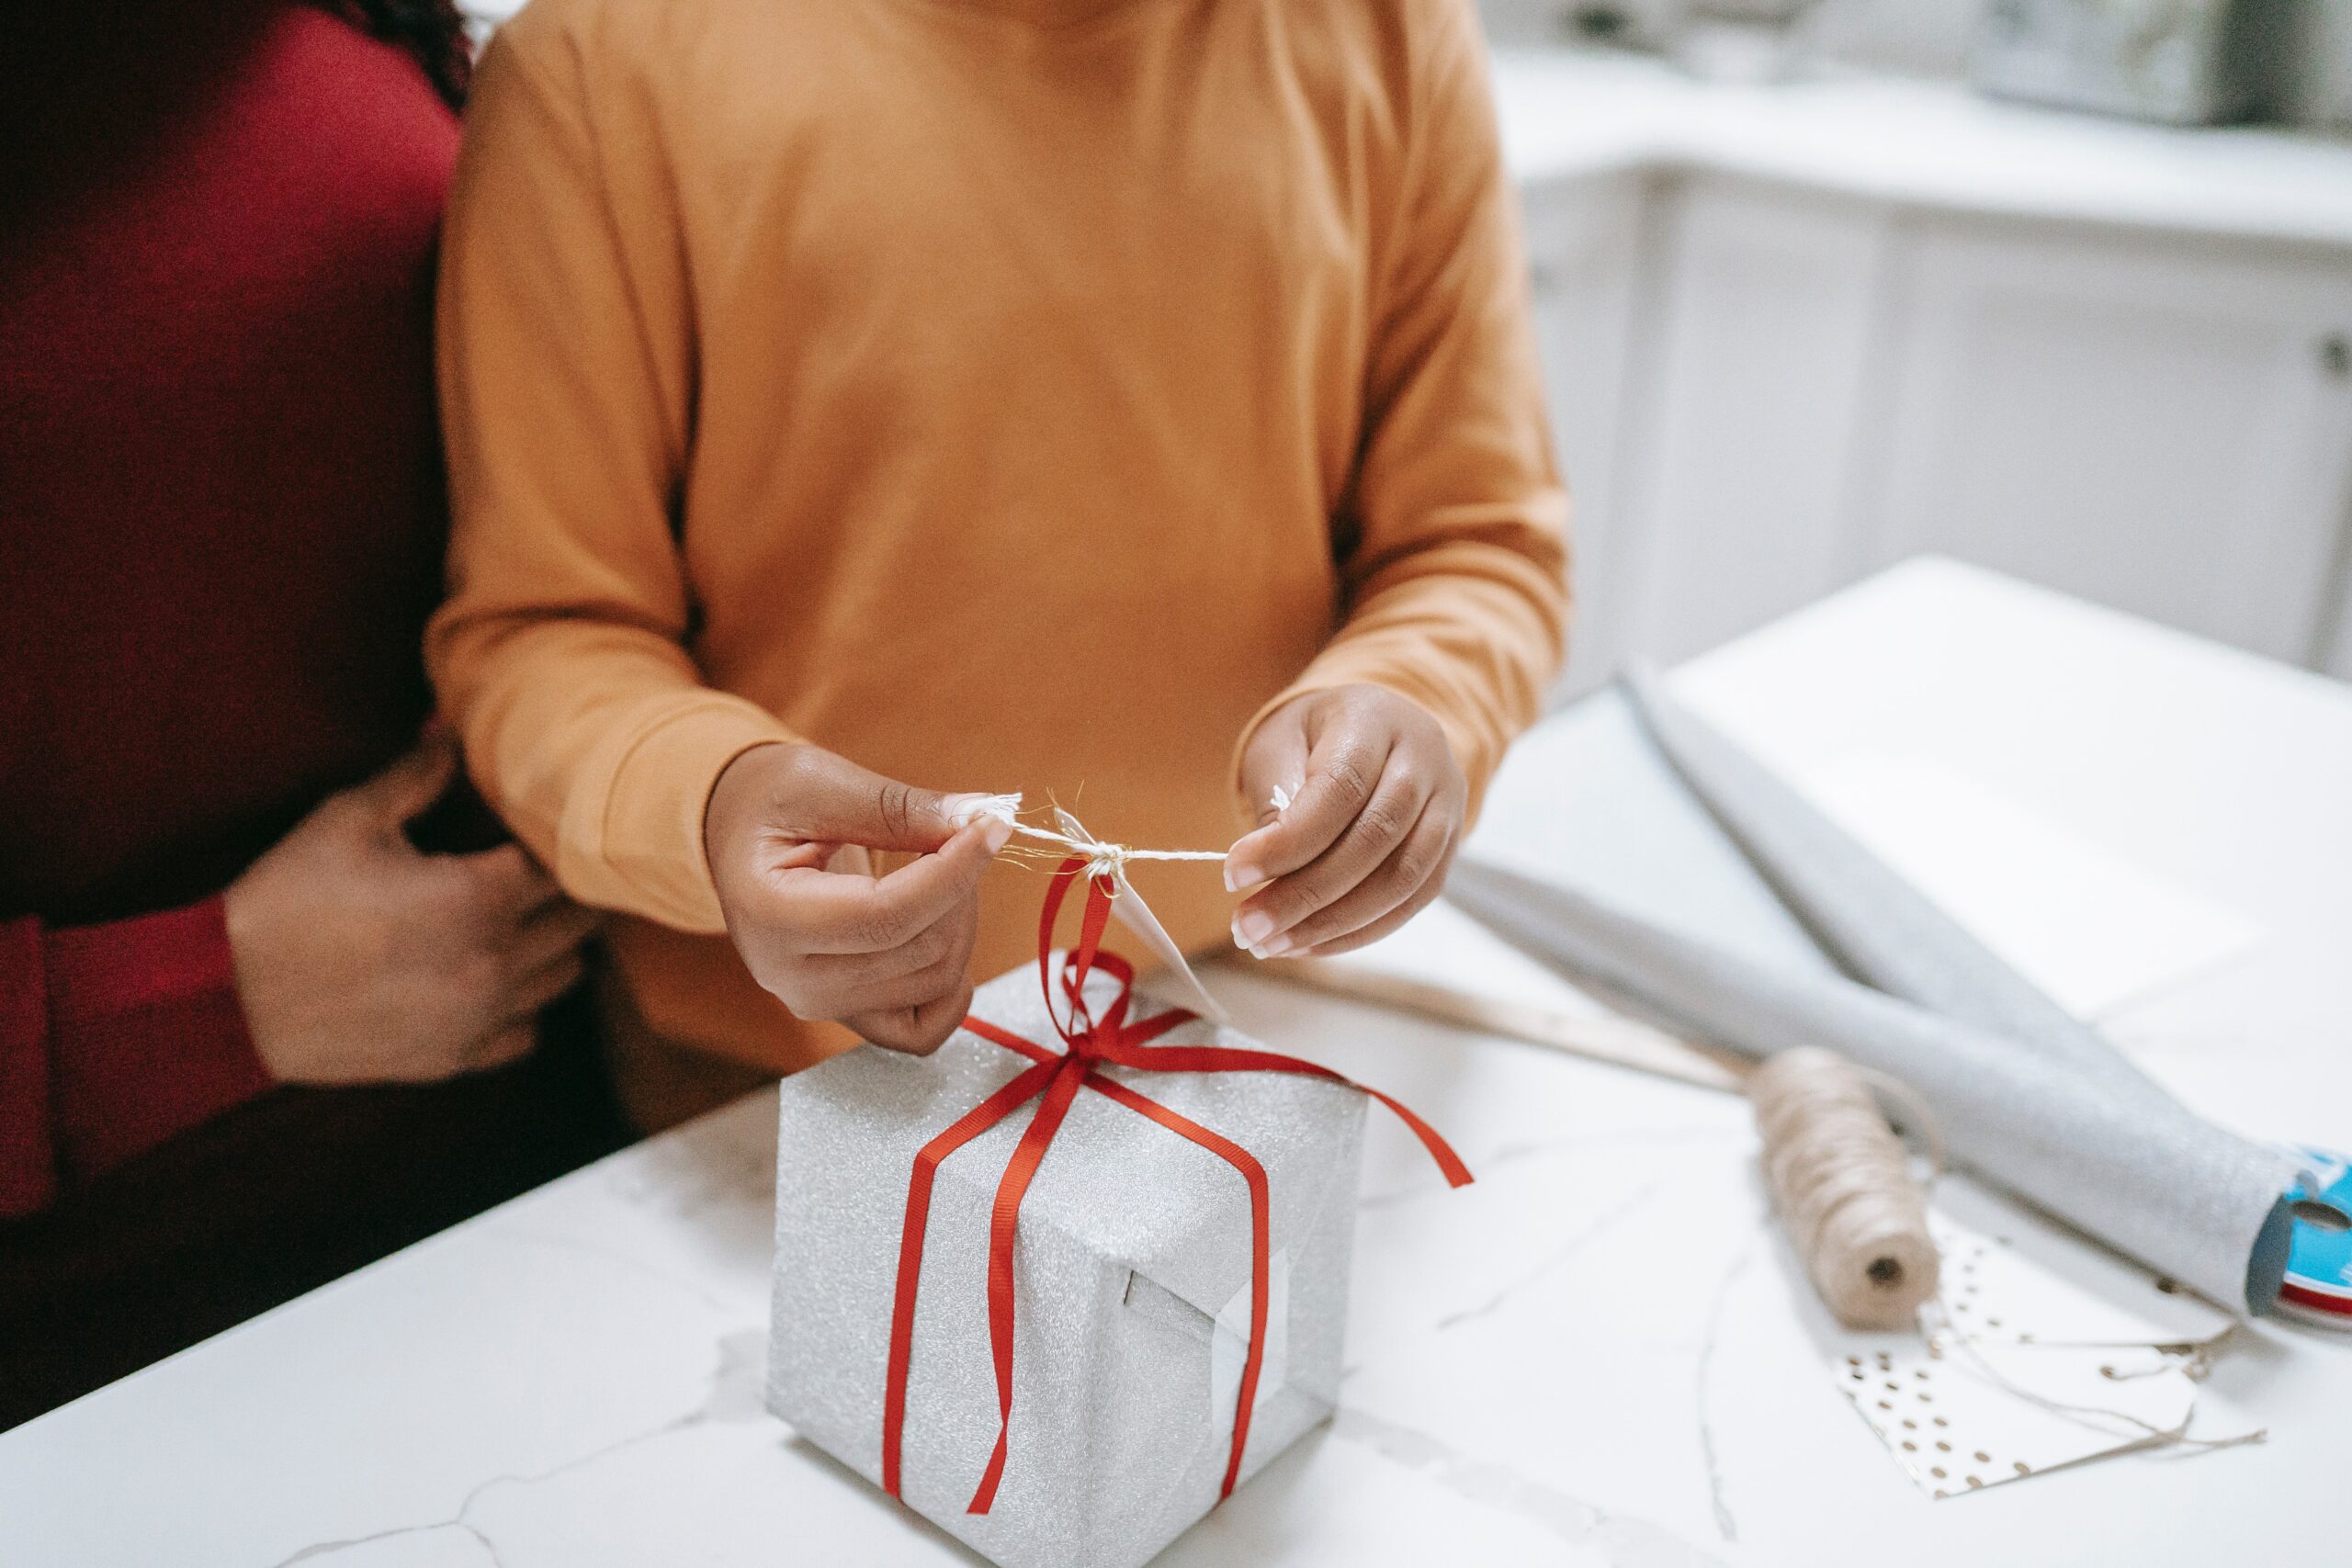
- Repeat on the other side. Add any extra bits you like to add a bit of character, such as a bow or ribbon.
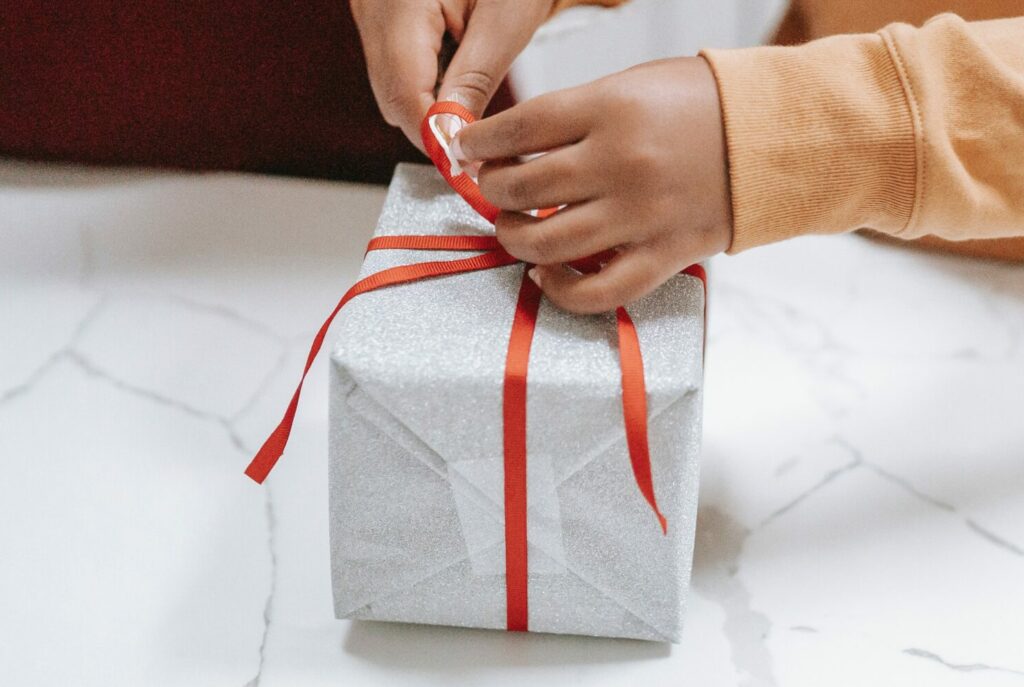
There you have it! If your wrapping looks anything like the gift above then you’re on the right track to be a pro! With more practice, you will be able to have the best looking gift wrapping skills all around.
To finish it off with an extra special touch, you could add a personalised gift tag to your wrapping paper! This complementary look will create a unique look, whilst allowing you to add your own thoughtful message on the inside.